|

|
 |
|
|
|
|
|
|
|
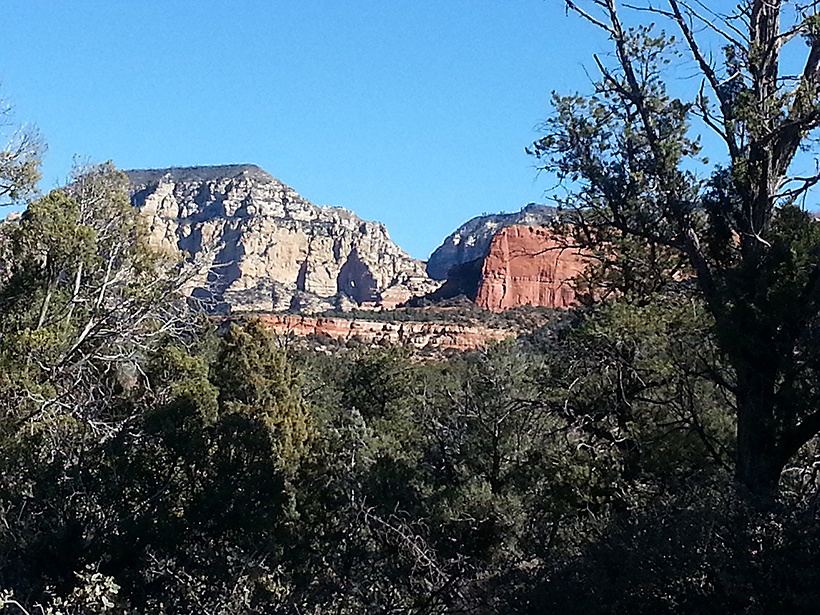
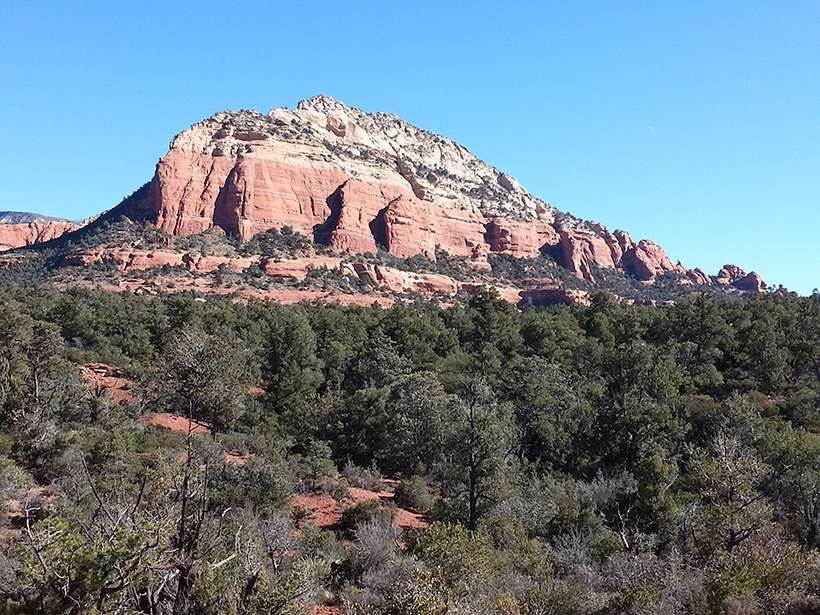
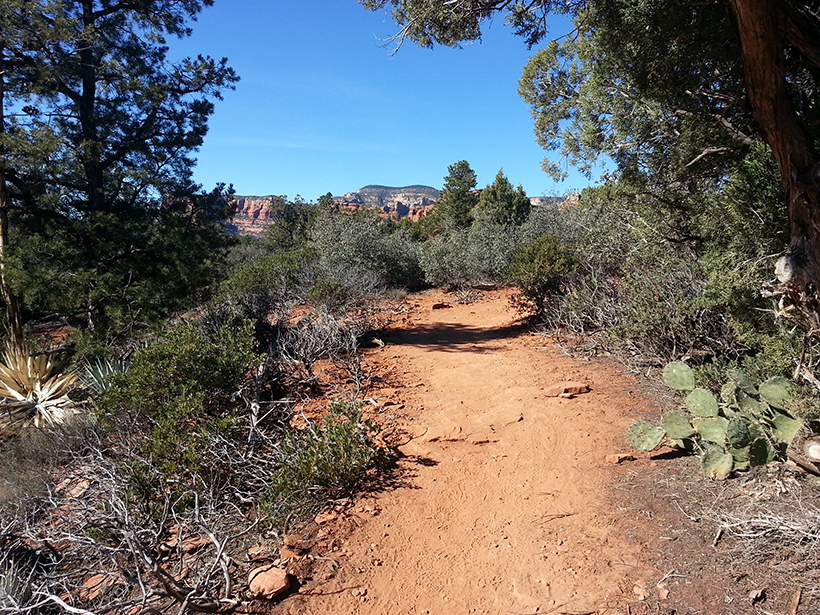
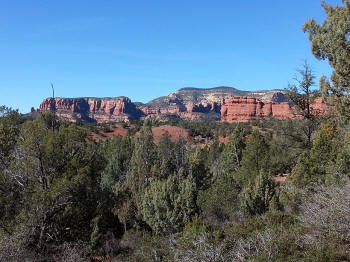
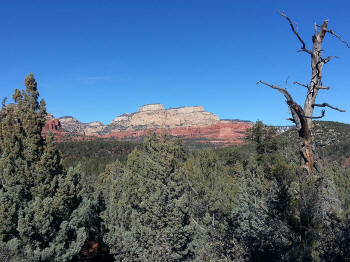
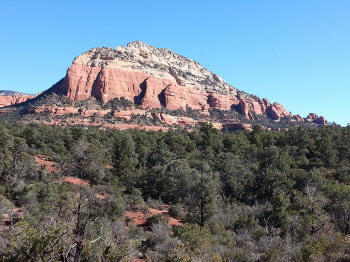
View of Bear Mountain to the Southwest.
|
 |
|
|
 |
|
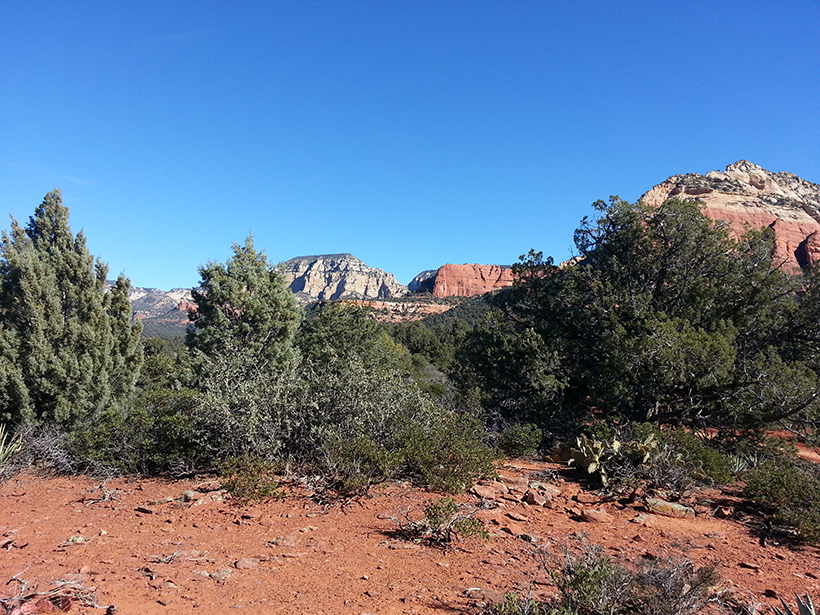
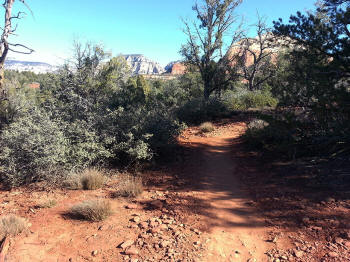
View to the North.
|
 |
|
|
 |
|
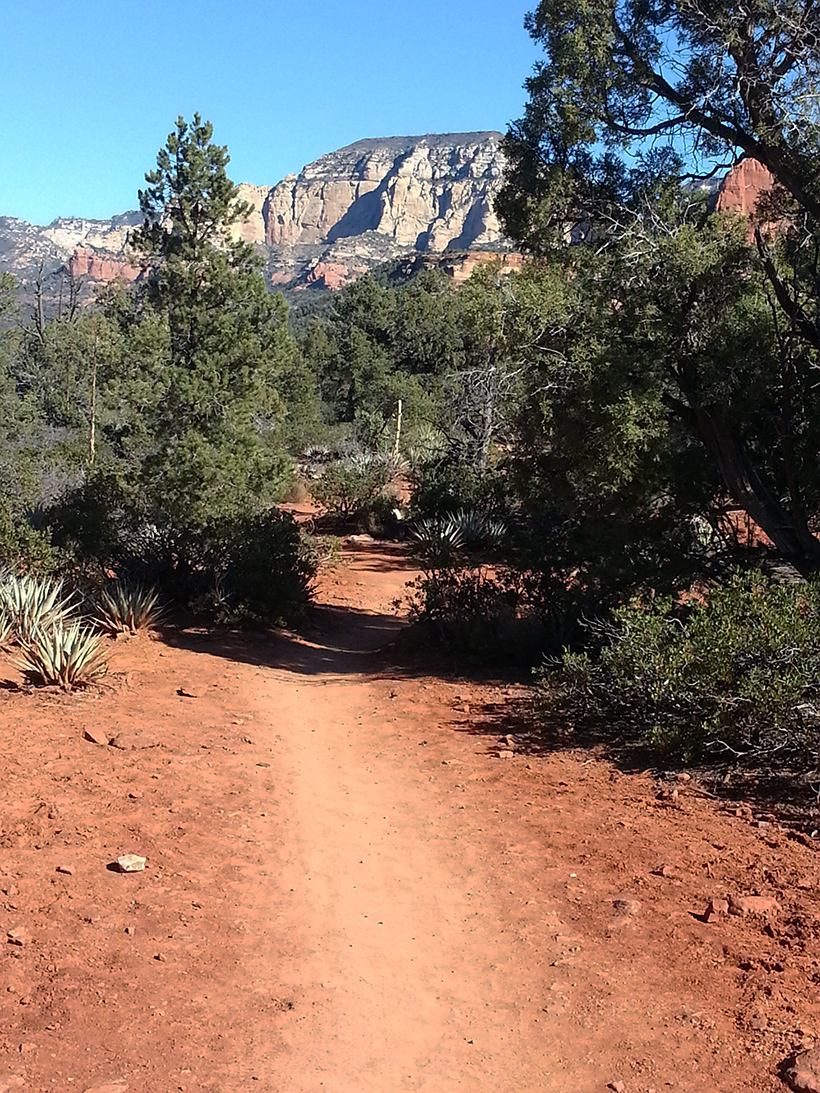
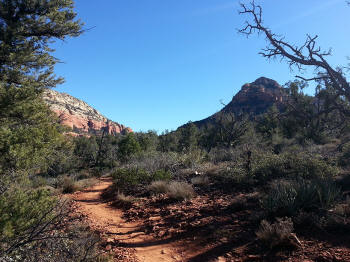
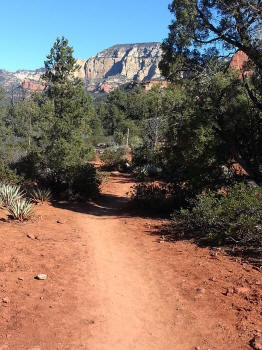
View to the West.
|
 |
|
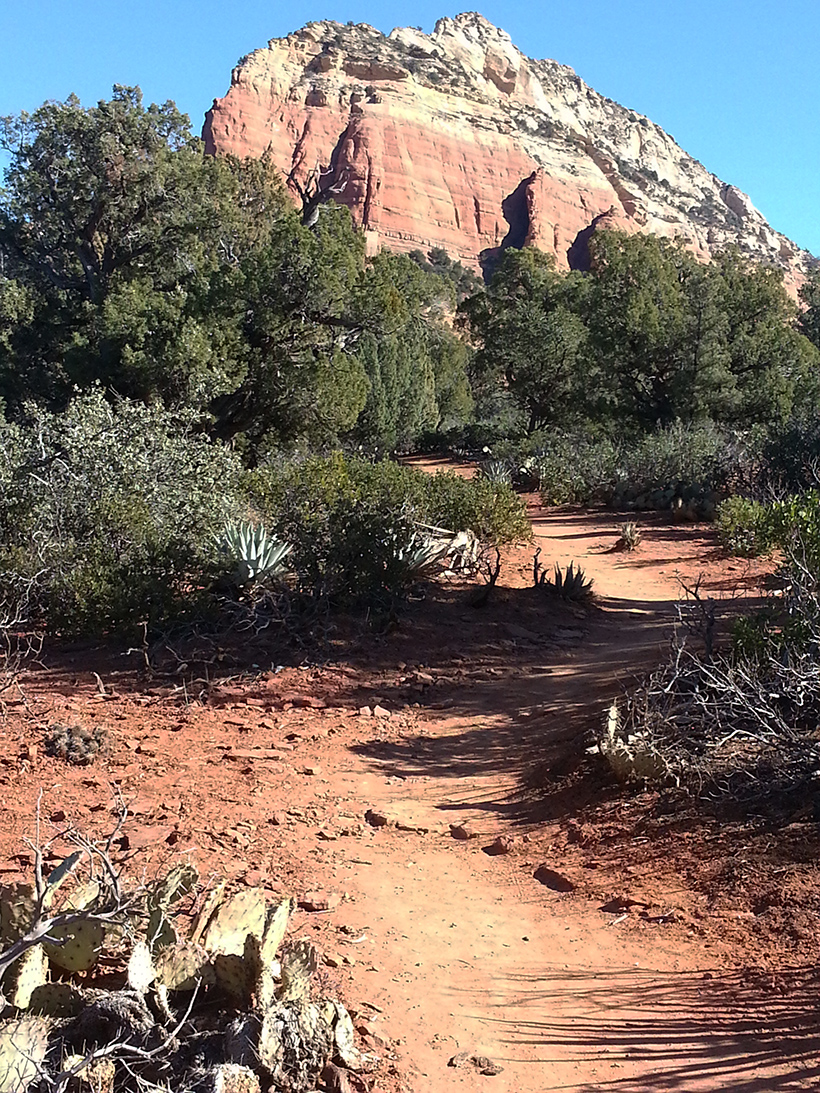
View to the East.
|
 |
|
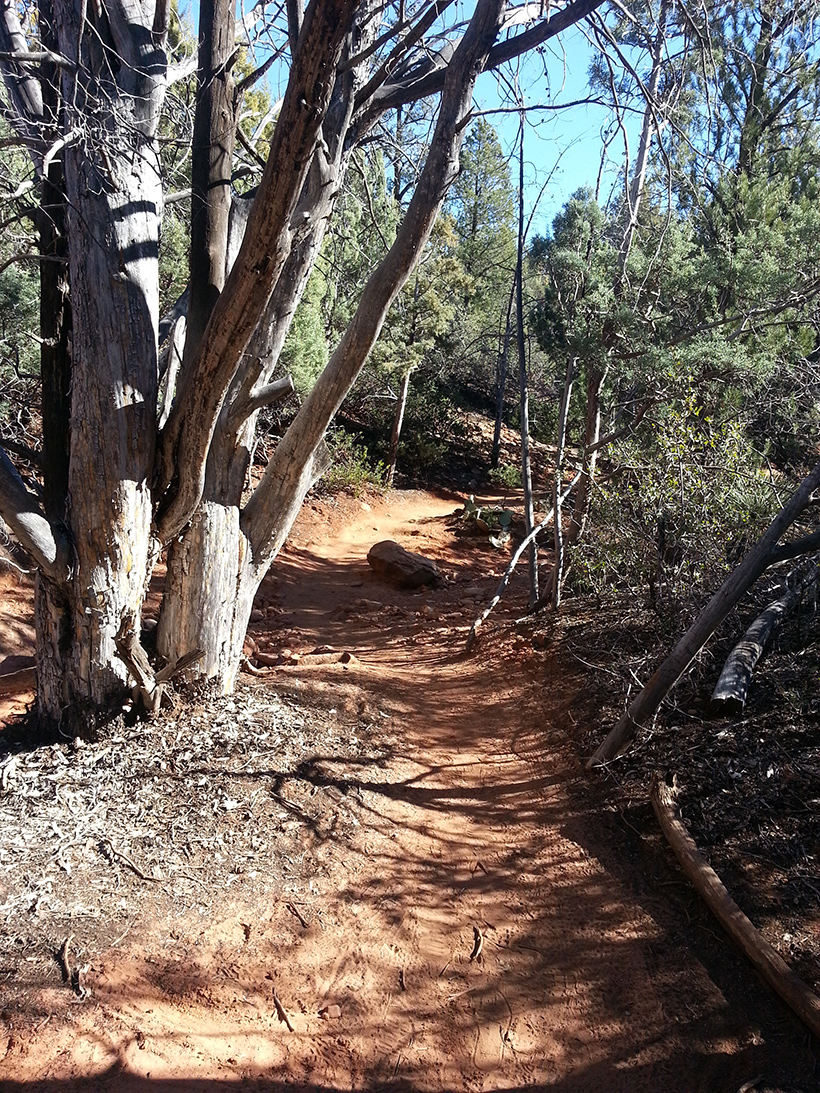
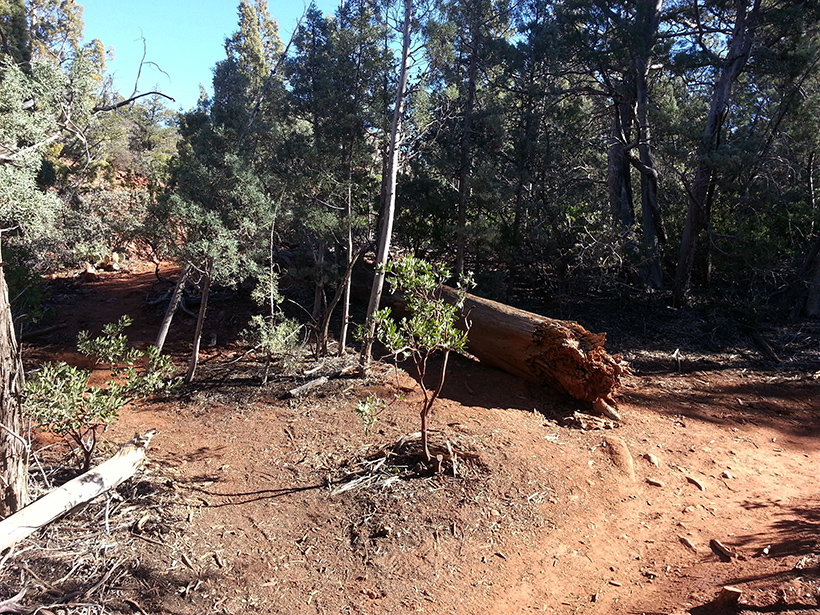
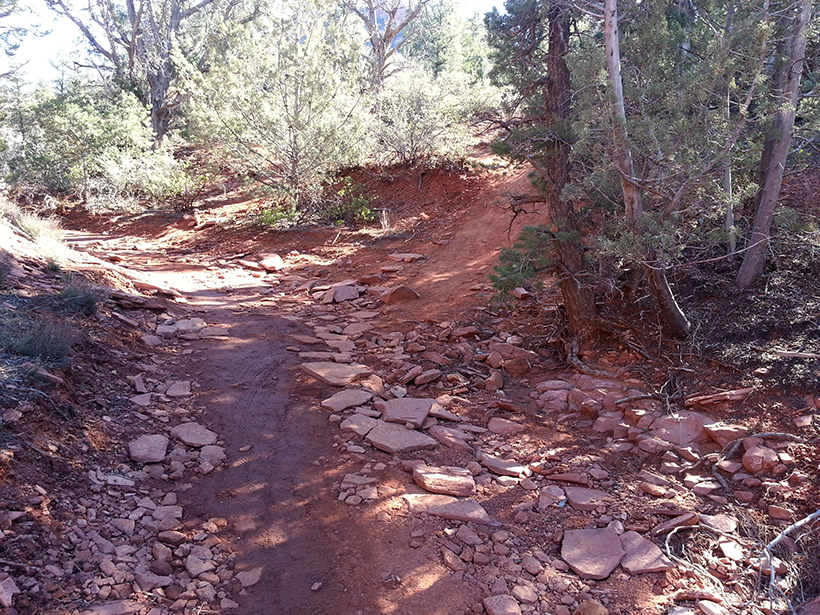
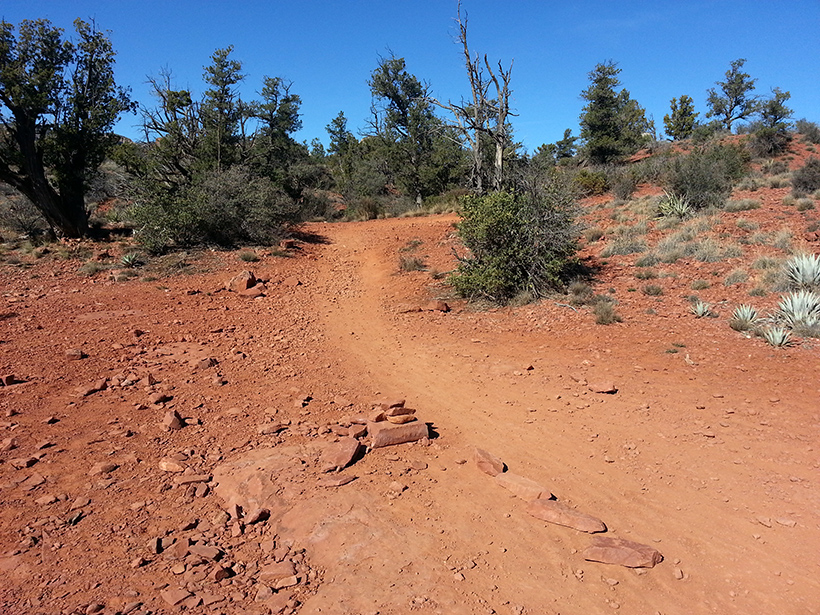
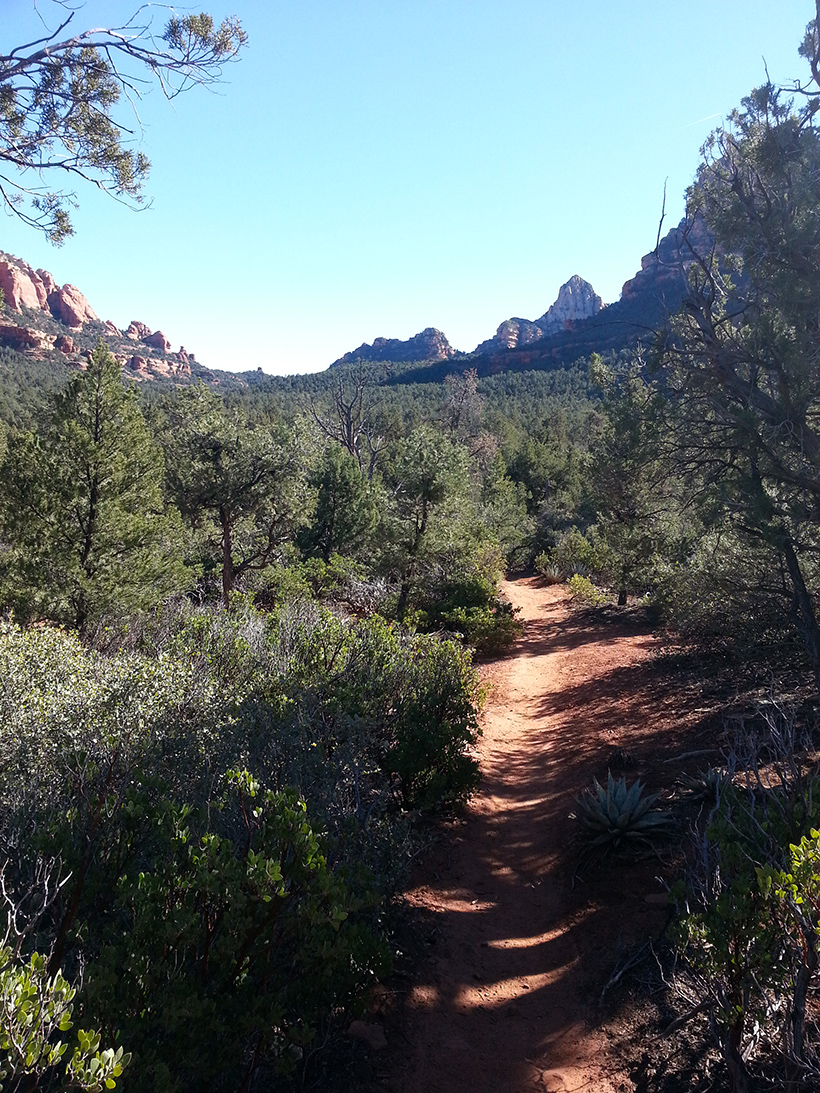
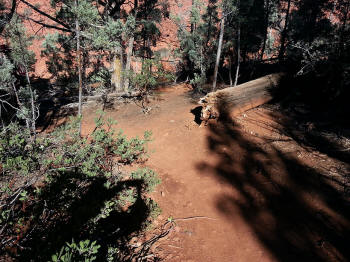
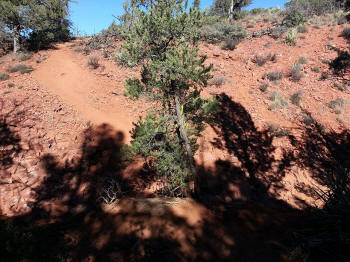
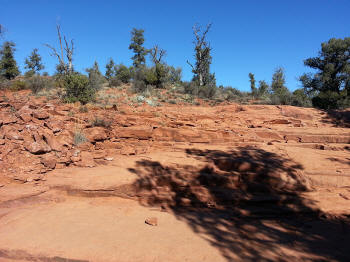
Approaching a dry streem bed. This is where
the trail can get confusing and it is easy to get lost. The trail
turns to the right and follows the creek bed upstream.
|
 |
|
Looking to the East.
|
 |
|
Looking down at the dry creek bed.
|
 |
|
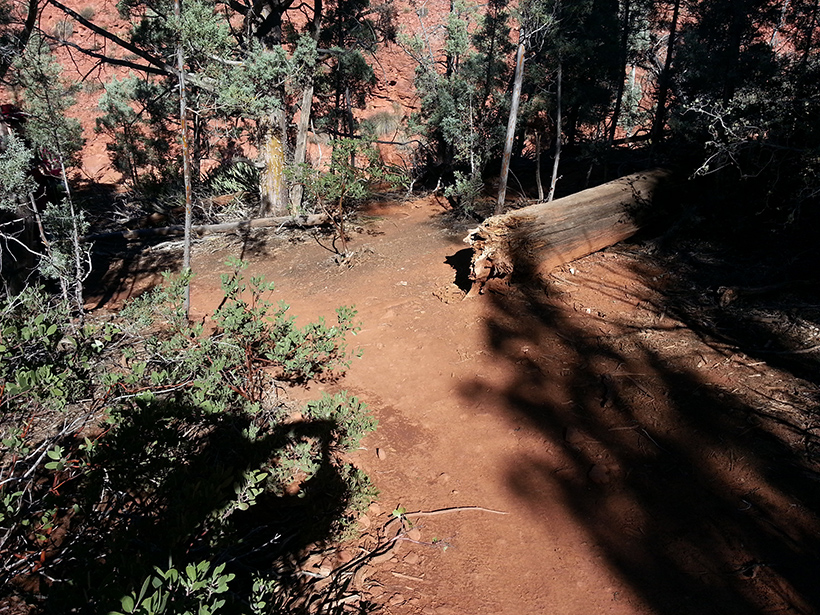
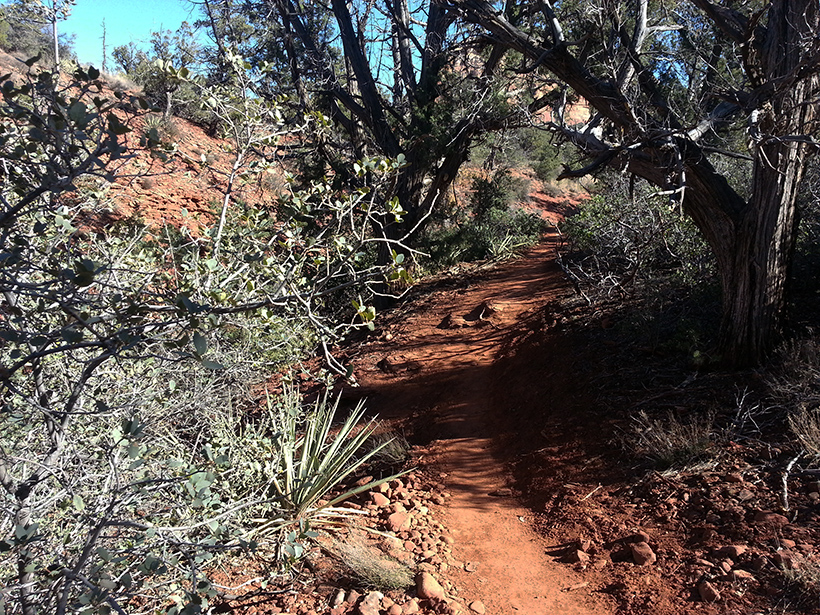
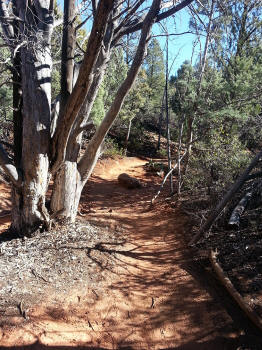
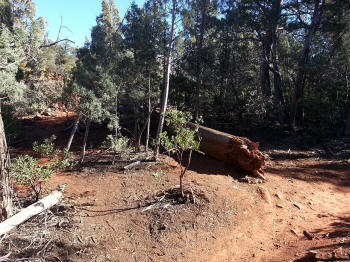
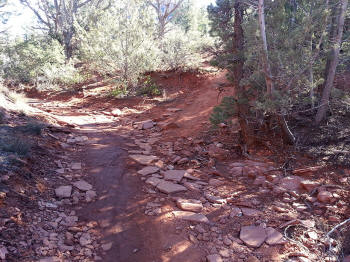
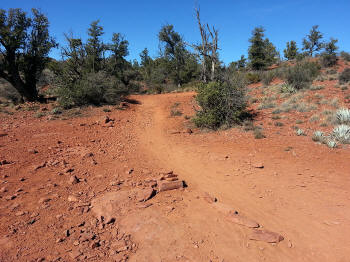
It look like the trail goes up the other side of
the bank. But it does not. It goes to to the right up
the creek bed. The false trail is heavly traveled a
testiment to how easy it is to get lost at this point.
|
 |
|
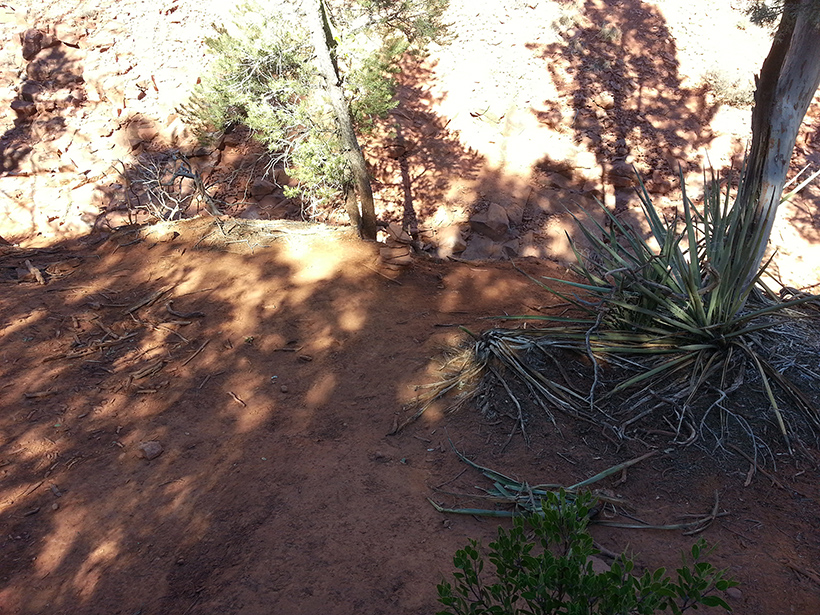
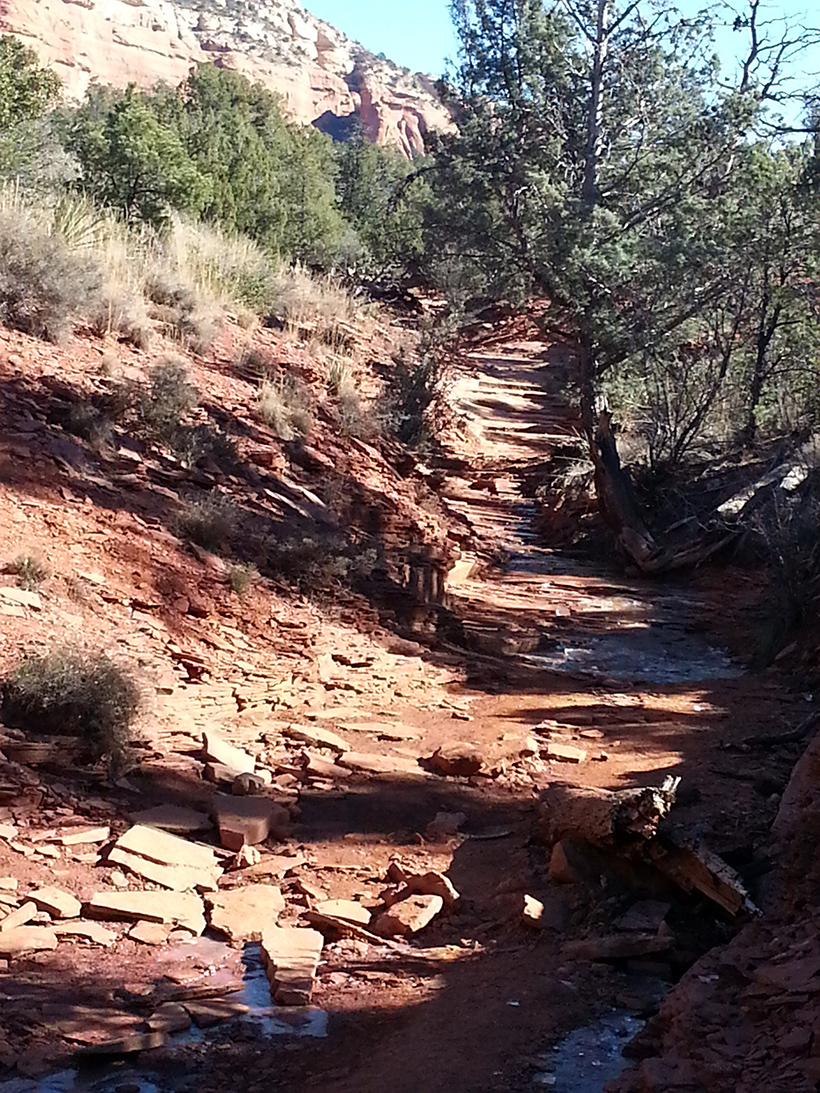
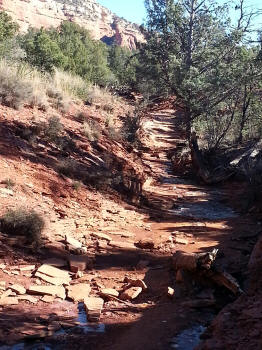
The trail follows the dry creek bed upstream
(to your right).
|
 |
|
|
 |
|
|
 |
|
|
 |
|
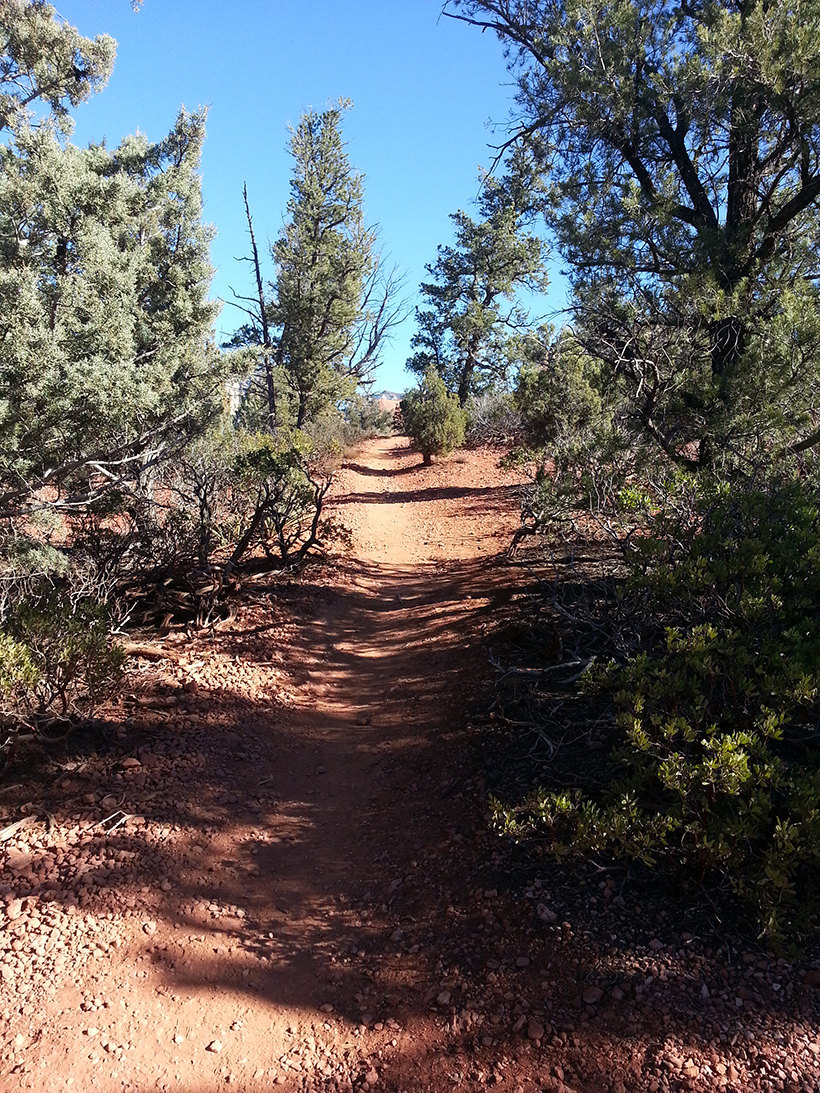
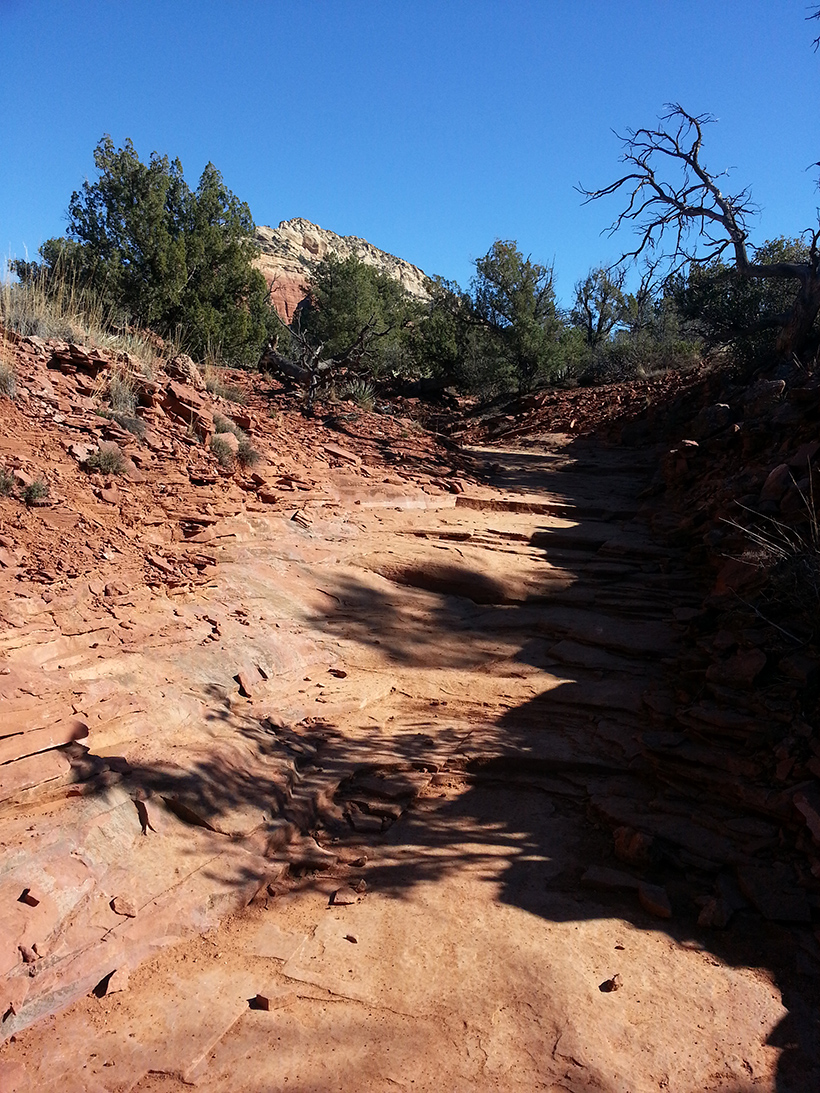
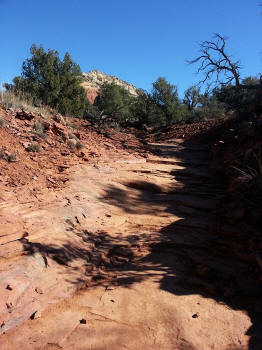
At the top of the hill the trail leaves the creek
bed and goes to the left.
|
 |
|
|
 |
|
|
 |
|
View to the Northwest.
|
 |
|
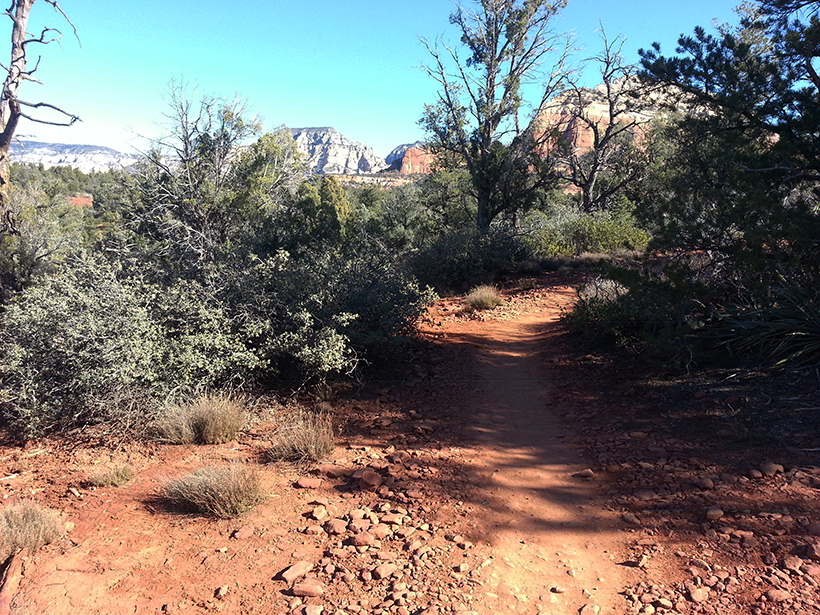
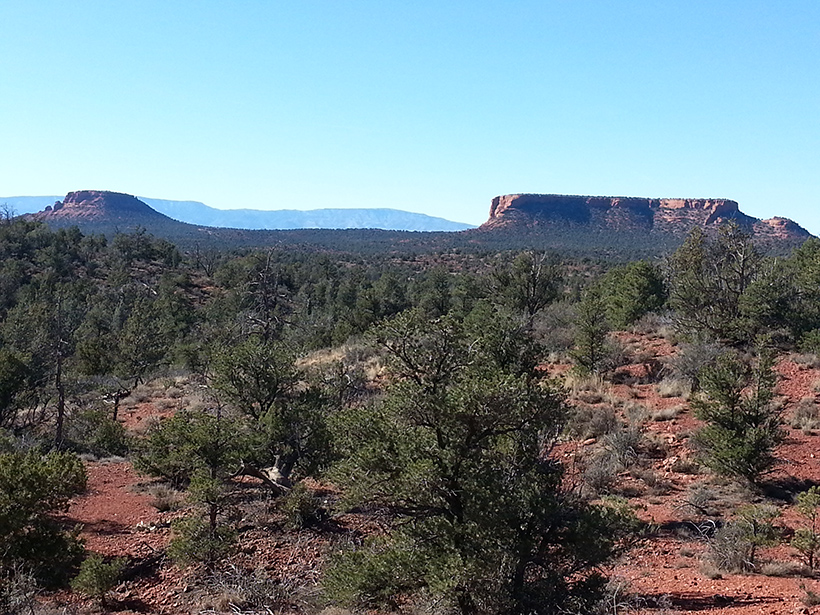
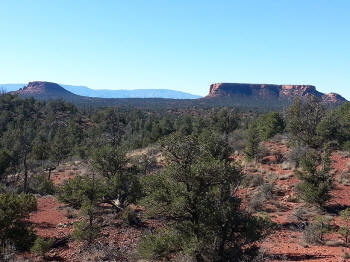
A view to the back with Doe Mountain on the right
horizon.
|
 |
|
Looking to the East.
|
 |
|
Looking to the Northeast.
|
 |
|
|
 |
|
Looking North.
|
 |
|
Looking North.
|
 |
|
Looking Northeast.
|
 |
|
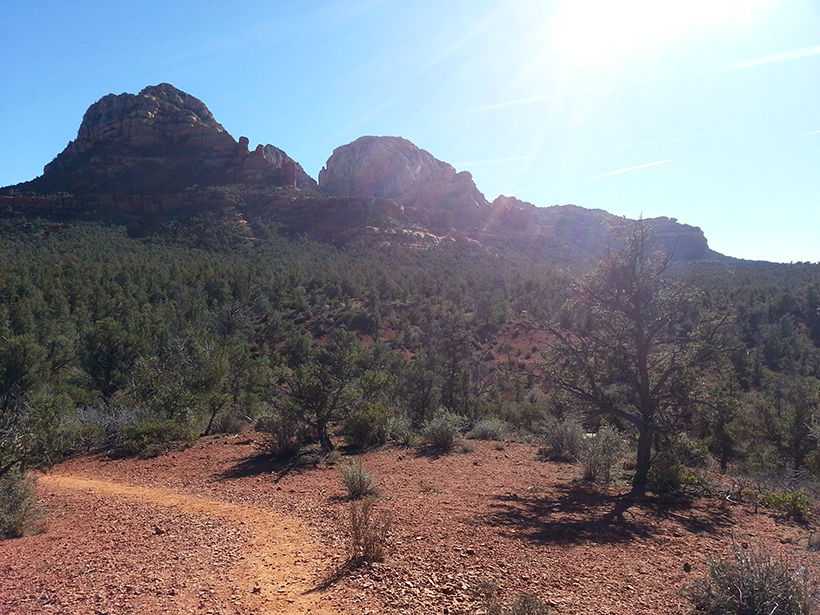
Looking east, up the canyon which leads to
Devil's Bridge.
|
 |
|
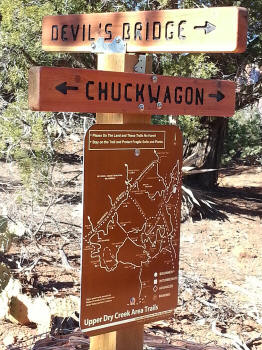
The trail junctions with a trail leading to the
Devil's Bridge Trailhead. There is a junction sign, you
will go to Forest Road 152 (access road to Vultee Arch and Devil's
Bridge).
|
 |
|
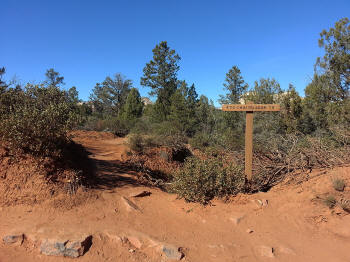
This short trail leads to
Forest Road 152
(access road to Vultee Arch and Devil's
Bridge}. Looking Back you can see a trail sign for Chuck Wagon
Trail.
|
 |
|
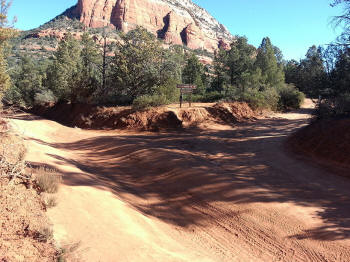
Devil's Bridge Parking Area and Trailhead. |
 |
|
Continuation of Hike:
To Devil's Bridge Trailhead
Other Links:
|
|
|